Saturday, November 10, 2012

Here Fishy, Fishy, Fishy


Another batch of magnetic fish, these ones for my nieces!  These are so fun to make (and so easy).  If I didn't keep giving them away I would have a whole pond full!

They have been having a lot of fun fishing :)

Monday, October 29, 2012

My first quilt!!!!

Ya.... not the greatest!  Ignore the yellow rows that are fairly off center.

I have made quilted blanket tops in the past but I always went the less 'scary' route of flipping them inside-out to sew the edges then turning it right side-out again to finish.  This was the first time I did a real quilt binding.  It wasn't as hard as I thought it would be (though binding in general never looks very nice for me - I know I just need practice).  I can't seem to make the back edge line up nicely with the front of the binding.

Well it was a learning process and the next will be better.  I do feel kind of embarressed that I am giving this away (it was a service project for a local shelter).  I am hoping the toddler who receives it (and his mother) don't notice its messy construction.  It is solid though and should hold together well and keep them warm.

I already want to make another one :)


Wednesday, August 15, 2012

Tutu for a birthday girl!

 I had fun today making a tutu for our soon to be 3-yr-old!  I got a HUGE garbage bag stuffed with tulle from my sis-in-law.  THANKS Christy! 

Hailey's birthday is in 5 days and her party in 10.  I am making tutu's for all her party guests.  They are far easier than I thought they would be.  I used a no-sew tutorial, but the sewn ones are nice too.


My craft room as been SO AWESOME!  The girls just play away while I work.  I can create fun things and still supervise the kiddos.  I'm in heaven!


She was pretty patient waiting for it to be done...


and then testing it out immediately. 


Tuesday, August 14, 2012

Canvas Baby Stats

I completed another pinterest project... love pinterest for craft ideas.  This is an 8x10 canvas with vinyl lettering.  I made the girls' matching as they will be sharing a room come next year.  It will be great to finally have something on the wall in Hailey's room!


Craft Room Sneak Peak


The room is all put together it just needs some final touches (aka- Vinyl).  This was the first one I put up.

Thank you to Ian for his master crafting skills! My pegboard, cup hook and other items are so handy!!!!  Keep an eye out here for the big reveal in the next couple weeks.

Jen

Monday, March 26, 2012

For Logan


I made this cover for Diana and her precious premie Logan!  He needed some protection from all the sick kids on his numerous visits back to the doctor.  This cover has only 1 layer instead of 2 (as it is now spring) like I have on my winter carseat cover.  The elastics keep it from blowing up in the wind and exposing baby.  It is also a super soft minky that Diana won't be able to stop 'petting' while she waits to see Logan's dr!

Welcome home Logan, you are such a trooper!


Here fishy, fishy, FISHY!

I made a magnetic fishing set for my girls to play with...  I have had too much fun playing with it myself!

All you need is felt, buttons, magnets, a sewing machine, string and a dowel!

Be as creative as you like!


Sunday, January 29, 2012

warm winter carseat cover

I made a car seat cover in May last year when my daughter was born.  You can check it out here!  It is a nice light cotton that hangs loosely over the carseat.  It was great for keeping the sun off of her as well as bugs and nosey strangers away.  In the fall when the wind started to pick up I realized that the cover was useless as it kept blowing off exposing my baby to the elements (have you seen what babies do when wind blows in their face?  They stop breathing - not good if the wind is constant).  So I went to the fabric store with an idea...


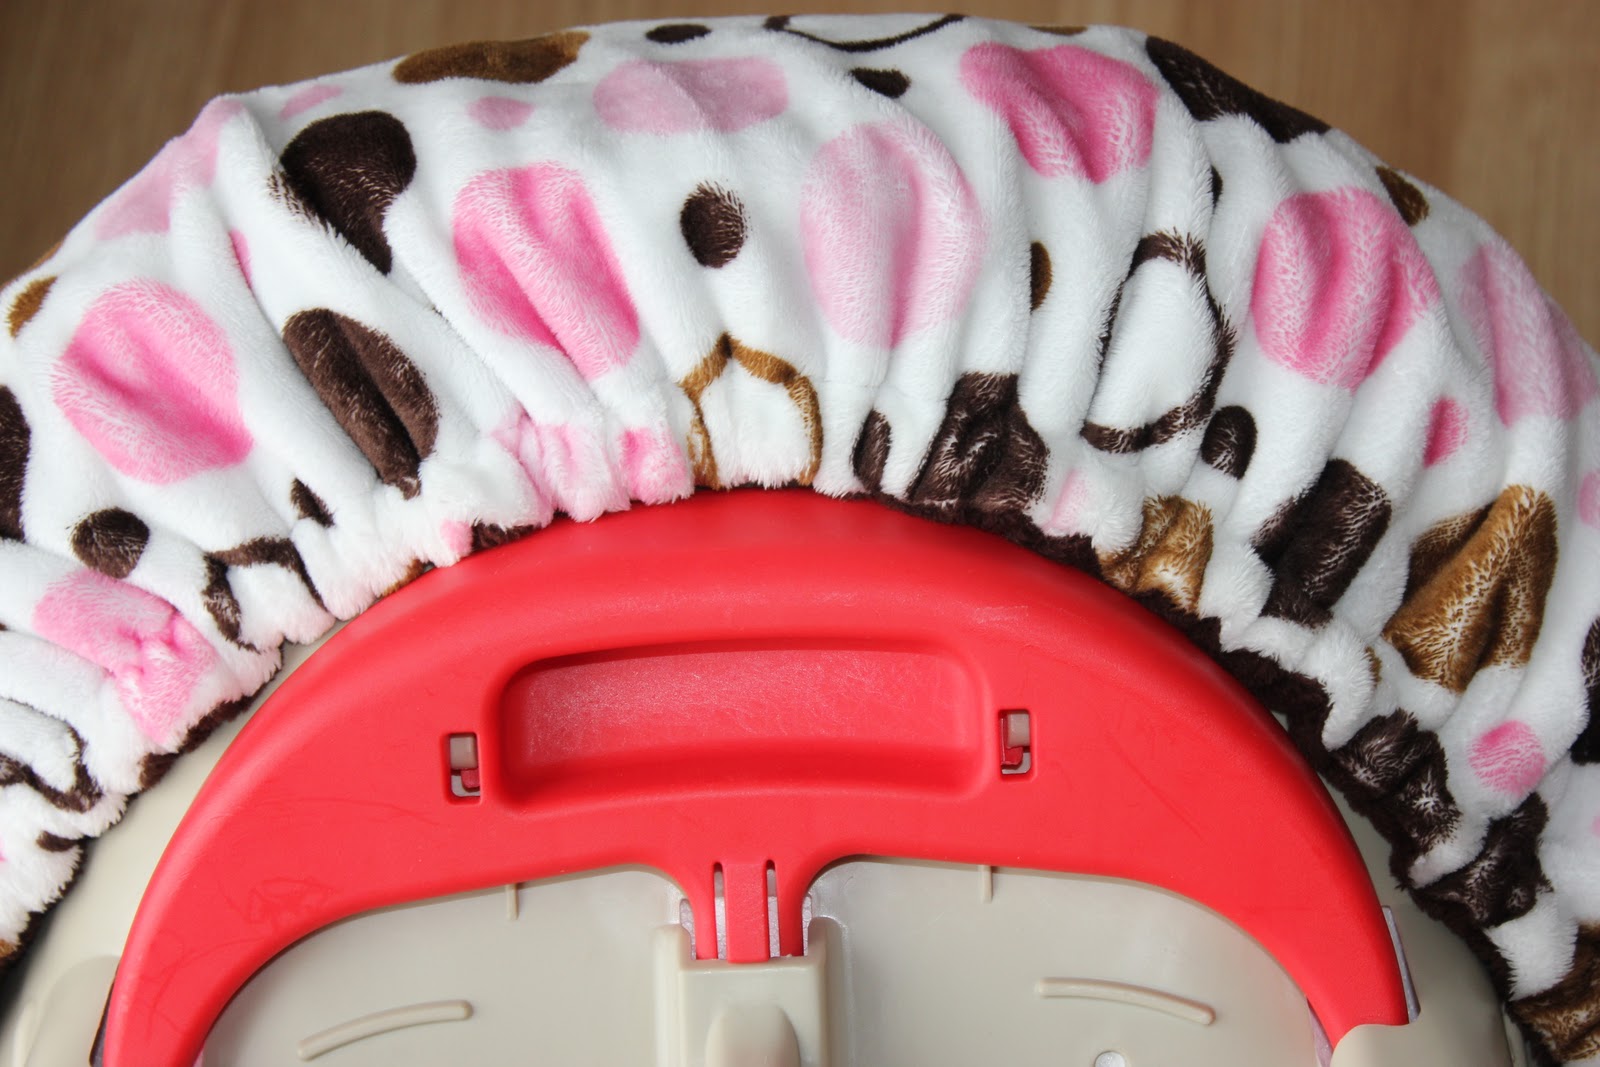
I picked up some super cute minky, some elastic and a couple buttons.  I used my old  carseat cover as a template and altered the shape a bit for a better fit with the elastic (the corners had to be rounded more for the elastic to hold tight around the carseat).


I won't be making a tutorial here as there are so many online already.  This one has a printable pattern you can download for free.  I used the straps from this but didn't have my side slits open so wide.  I cut out a half circle where my handles connect to the seat so it is covered completely.  I pieced the elastic in two parts (the front and back sections seperately) and created two loops with the elastic on the front section and sewed 2 buttons on the back section to secure the cover around the handle posts.  You will need to sew the elastic in first around the bottom before sewing the half-circle holes for the handle posts (the elastic does not go through these).


Now I have a cover that is toasty warm, I never have to put a coat on my baby (just a toque and a blanket) even on the coldest days and it doesn't blow away in the wind.  I love it!


I should have made it sooner though as my 8 mth old is getting too heavy to carry around in her bucketseat (I made it in November so I did get some use out of it).  Next month we will be moving her to a bigger, rear facing seat and the cover will go into storage for another baby in the future!